")
Sure! Here’s a well-structured, SEO-friendly blog post titled “A Beginner’s Guide to Setting Up Your First CCTV Camera System” for you:
A Beginner’s Guide to Setting Up Your First CCTV Camera System
Installing a CCTV camera system is a great way to boost the security of your home or business. If you’re new to surveillance technology, setting up your first CCTV system can seem daunting. This beginner’s guide will walk you through the basics—from choosing the right camera to installation tips—to help you get started with confidence.
Why Install a CCTV Camera System?
- Enhanced Security: Monitor your property 24/7 and deter potential intruders.
- Peace of Mind: Check on your home or business remotely using your smartphone or computer.
- Evidence Collection: In case of incidents, recorded footage can help identify suspects and support investigations.
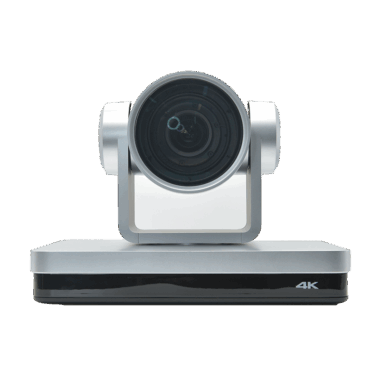
Step 1: Choose the Right CCTV Camera System
There are many types of CCTV cameras available, so consider your needs carefully:
- Wired vs. Wireless Cameras: Wired systems offer stable connections and often better video quality, while wireless cameras provide easier installation and flexibility.
- Resolution: For clear images, opt for at least 1080p (Full HD) resolution.
- Night Vision: Essential for monitoring in low-light or dark conditions.
- Field of View: Wider angles cover more area but may reduce detail.
- Indoor vs. Outdoor Cameras: Outdoor cameras should be weatherproof and durable.
Step 2: Plan Your Camera Placement
- Identify Vulnerable Areas: Entrances, driveways, backyards, and high-traffic zones.
- Height and Angle: Mount cameras high enough to avoid tampering but angled to capture faces or license plates.
- Power Source: Ensure nearby power outlets or consider cameras with built-in batteries or solar options.
Step 3: Gather Your Equipment and Tools
- CCTV cameras (wired or wireless)
- Digital Video Recorder (DVR) or Network Video Recorder (NVR)
- Monitor or compatible device for viewing footage
- Cables and connectors (for wired systems)
- Mounting brackets and screws
- Drill, screwdriver, and other basic tools
Step 4: Installation Process
For Wired Cameras:
- Mount the Cameras: Use brackets to securely install cameras at planned locations.
- Run Cables: Connect cameras to the DVR/NVR using coaxial or Ethernet cables.
- Connect to Power: Plug cameras into power outlets or use Power over Ethernet (PoE) if supported.
- Set Up the DVR/NVR: Connect it to your monitor and configure recording settings.
For Wireless Cameras:
- Mount the Cameras: Similar to wired cameras, install them securely.
- Connect to Wi-Fi: Use the camera’s app or software to connect to your home or business network.
- Power Up: Plug into power sources or use batteries as per model specifications.
- Configure Software: Set up alerts, recording schedules, and remote viewing features.
Step 5: Test Your System
- Check camera feeds on your monitor or app.
- Adjust angles and focus for optimal coverage.
- Test night vision functionality.
- Ensure remote access is working properly.
Step 6: Maintain Your CCTV System
- Regularly clean camera lenses.
- Update software and firmware for security patches.
- Check connections and power sources periodically.
- Backup important footage to external storage or cloud services.
Final Tips for CCTV Beginners
- Start with a small number of cameras and expand as needed.
- Label cables and cameras during installation for easier troubleshooting.
- Consider professional installation if you’re unsure about wiring or network setup.
With this guide, you’re well on your way to securing your property effectively. Ready to choose your CCTV system? Explore trusted brands and models that fit your budget and needs.
If you want, I can help you create an SEO-optimized version with keywords, meta descriptions, and image tags too! Would you like that?